Problem
The front right caliper of our truck clamped every time I applied the brake so the front right brake was braking all the time. I recognized it because the truck does not start to roll on after releasing the brake even when standing downhill and while driving she pulled sideways to the right. When I stopped I could already smell where the problem was located. I waited until the brake was cooled down and drove home really slow and used only the transmission and the parking brake to slow down.
Result
I replaced the caliper of the right brake which solved the problem.
Approach
I ordered a brake bleeder, DOT 3 brake fluid and a new brake caliper. I ordered a non return valve some time ago which could be combined with the brake bleeder kit.
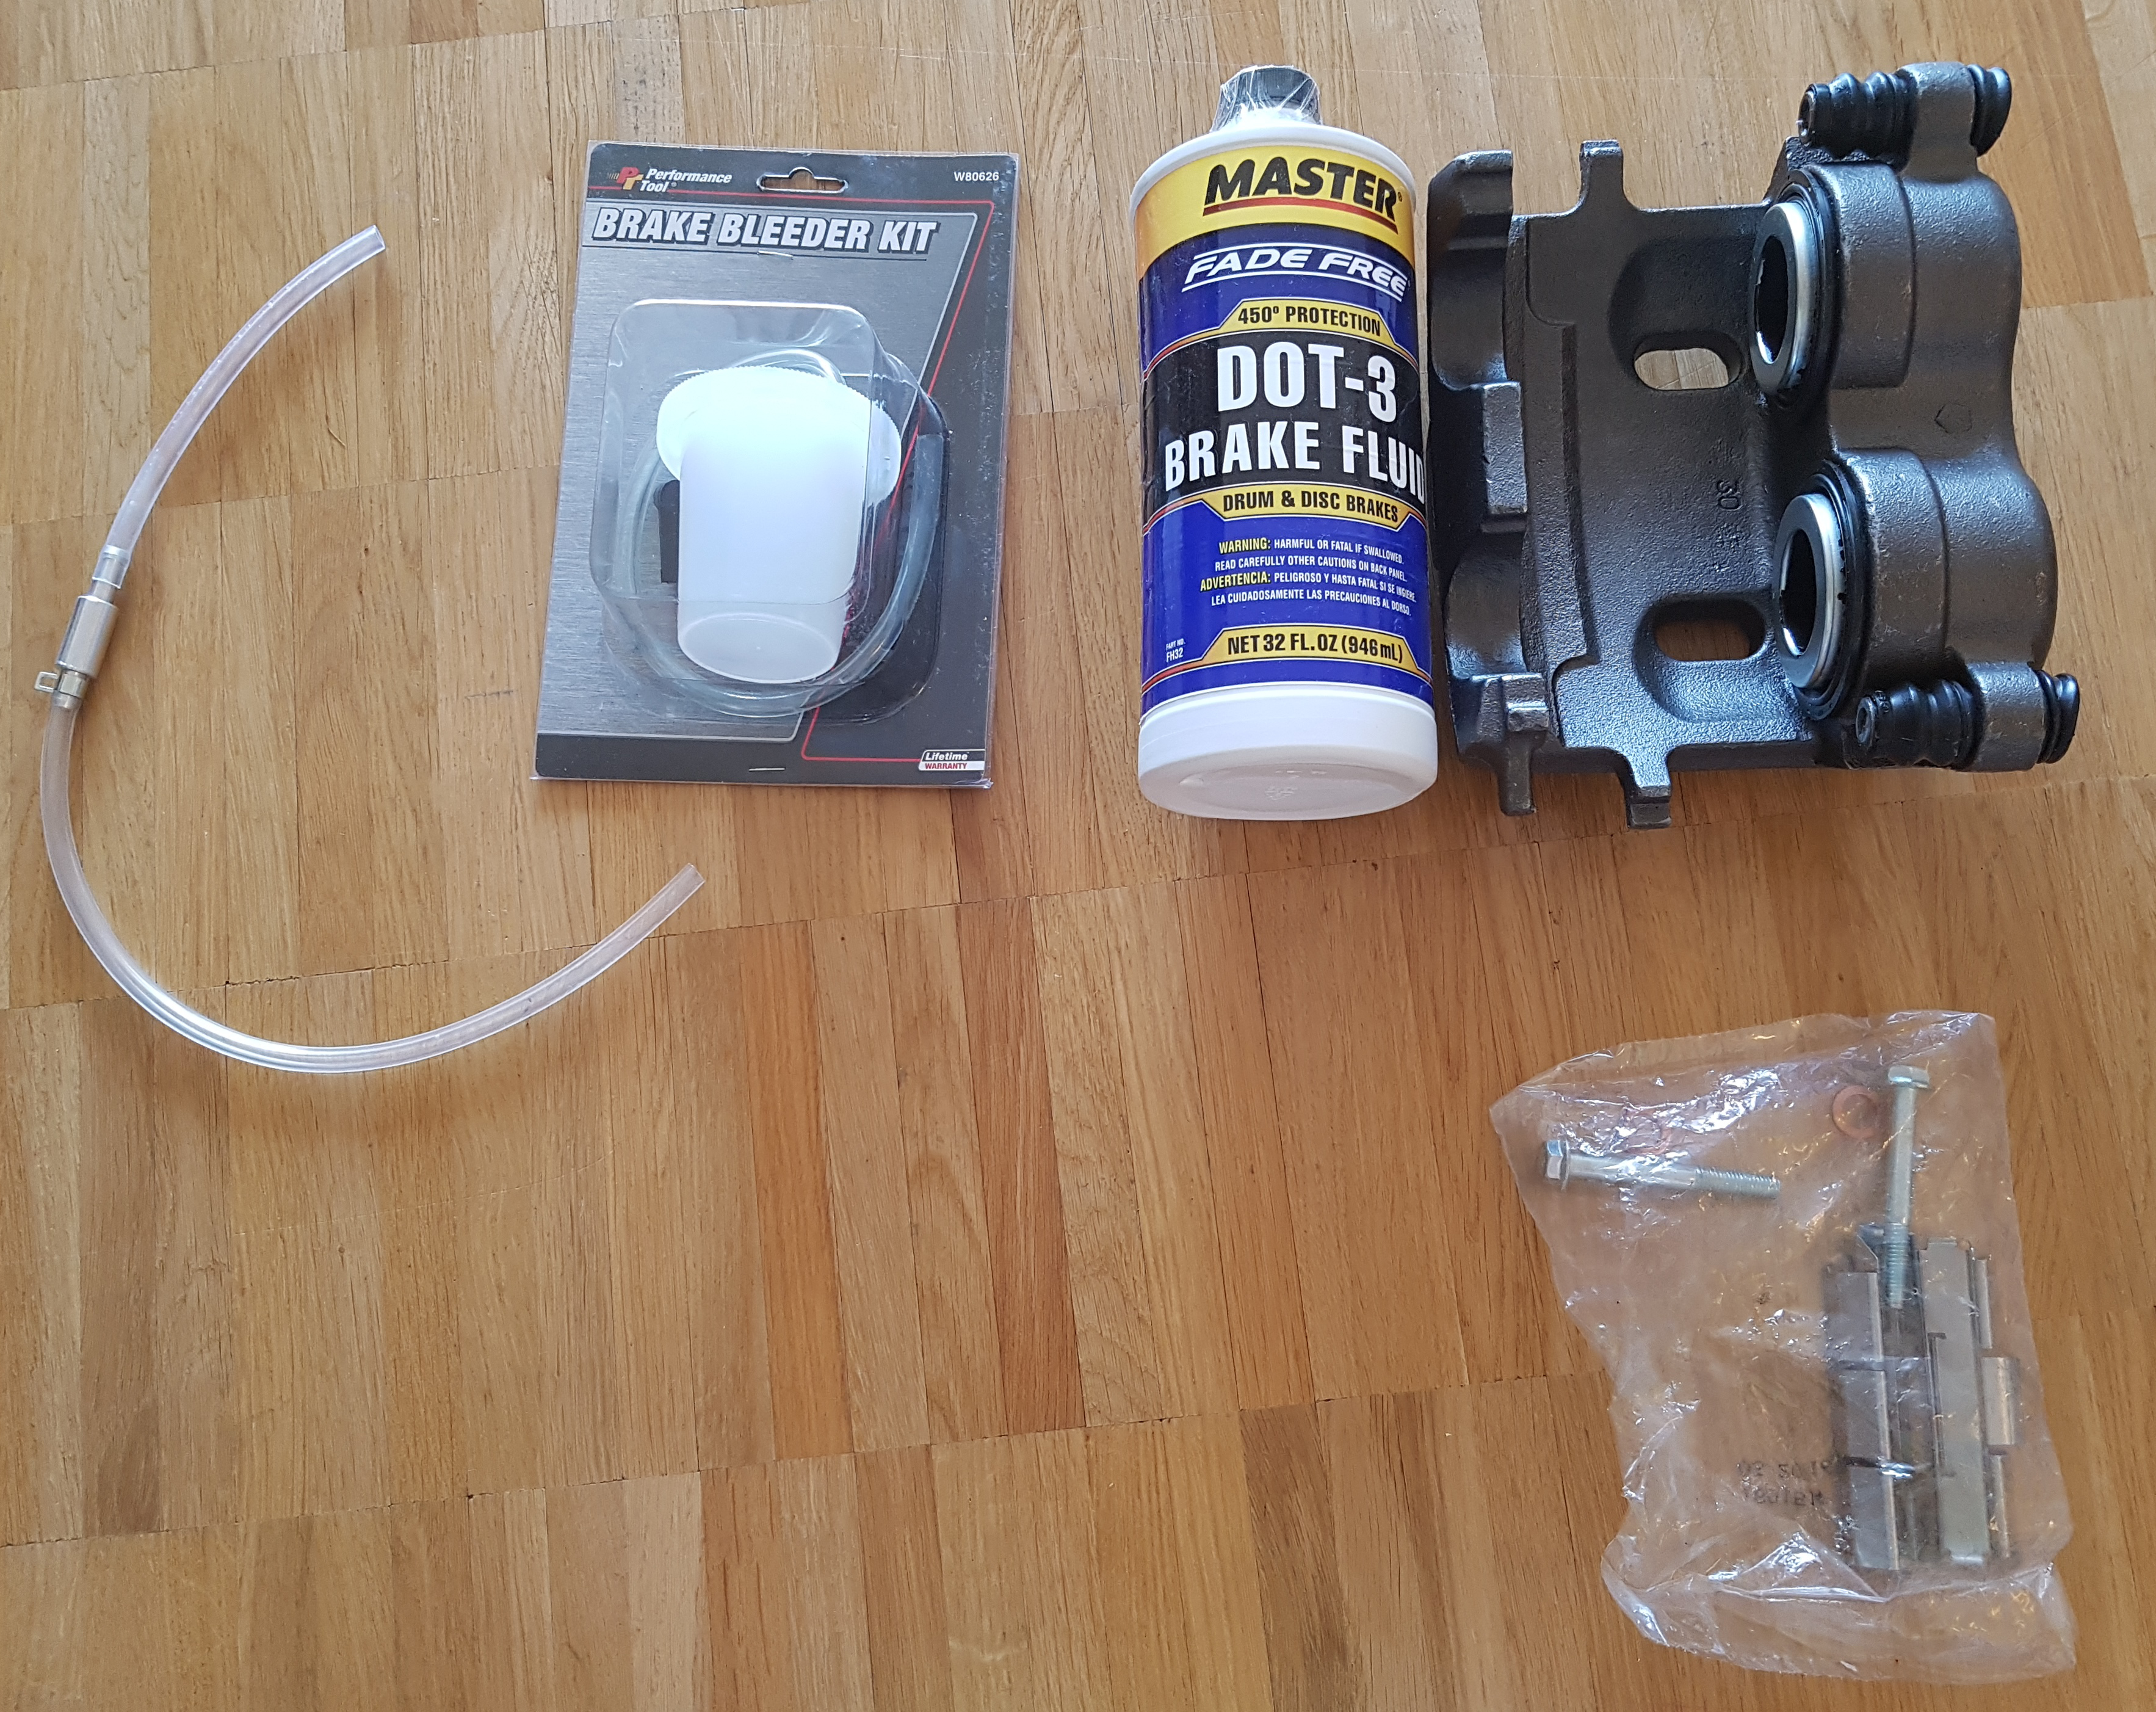
Ordered parts
At first I turned the steering wheels completely to the left for easier access to the brake.
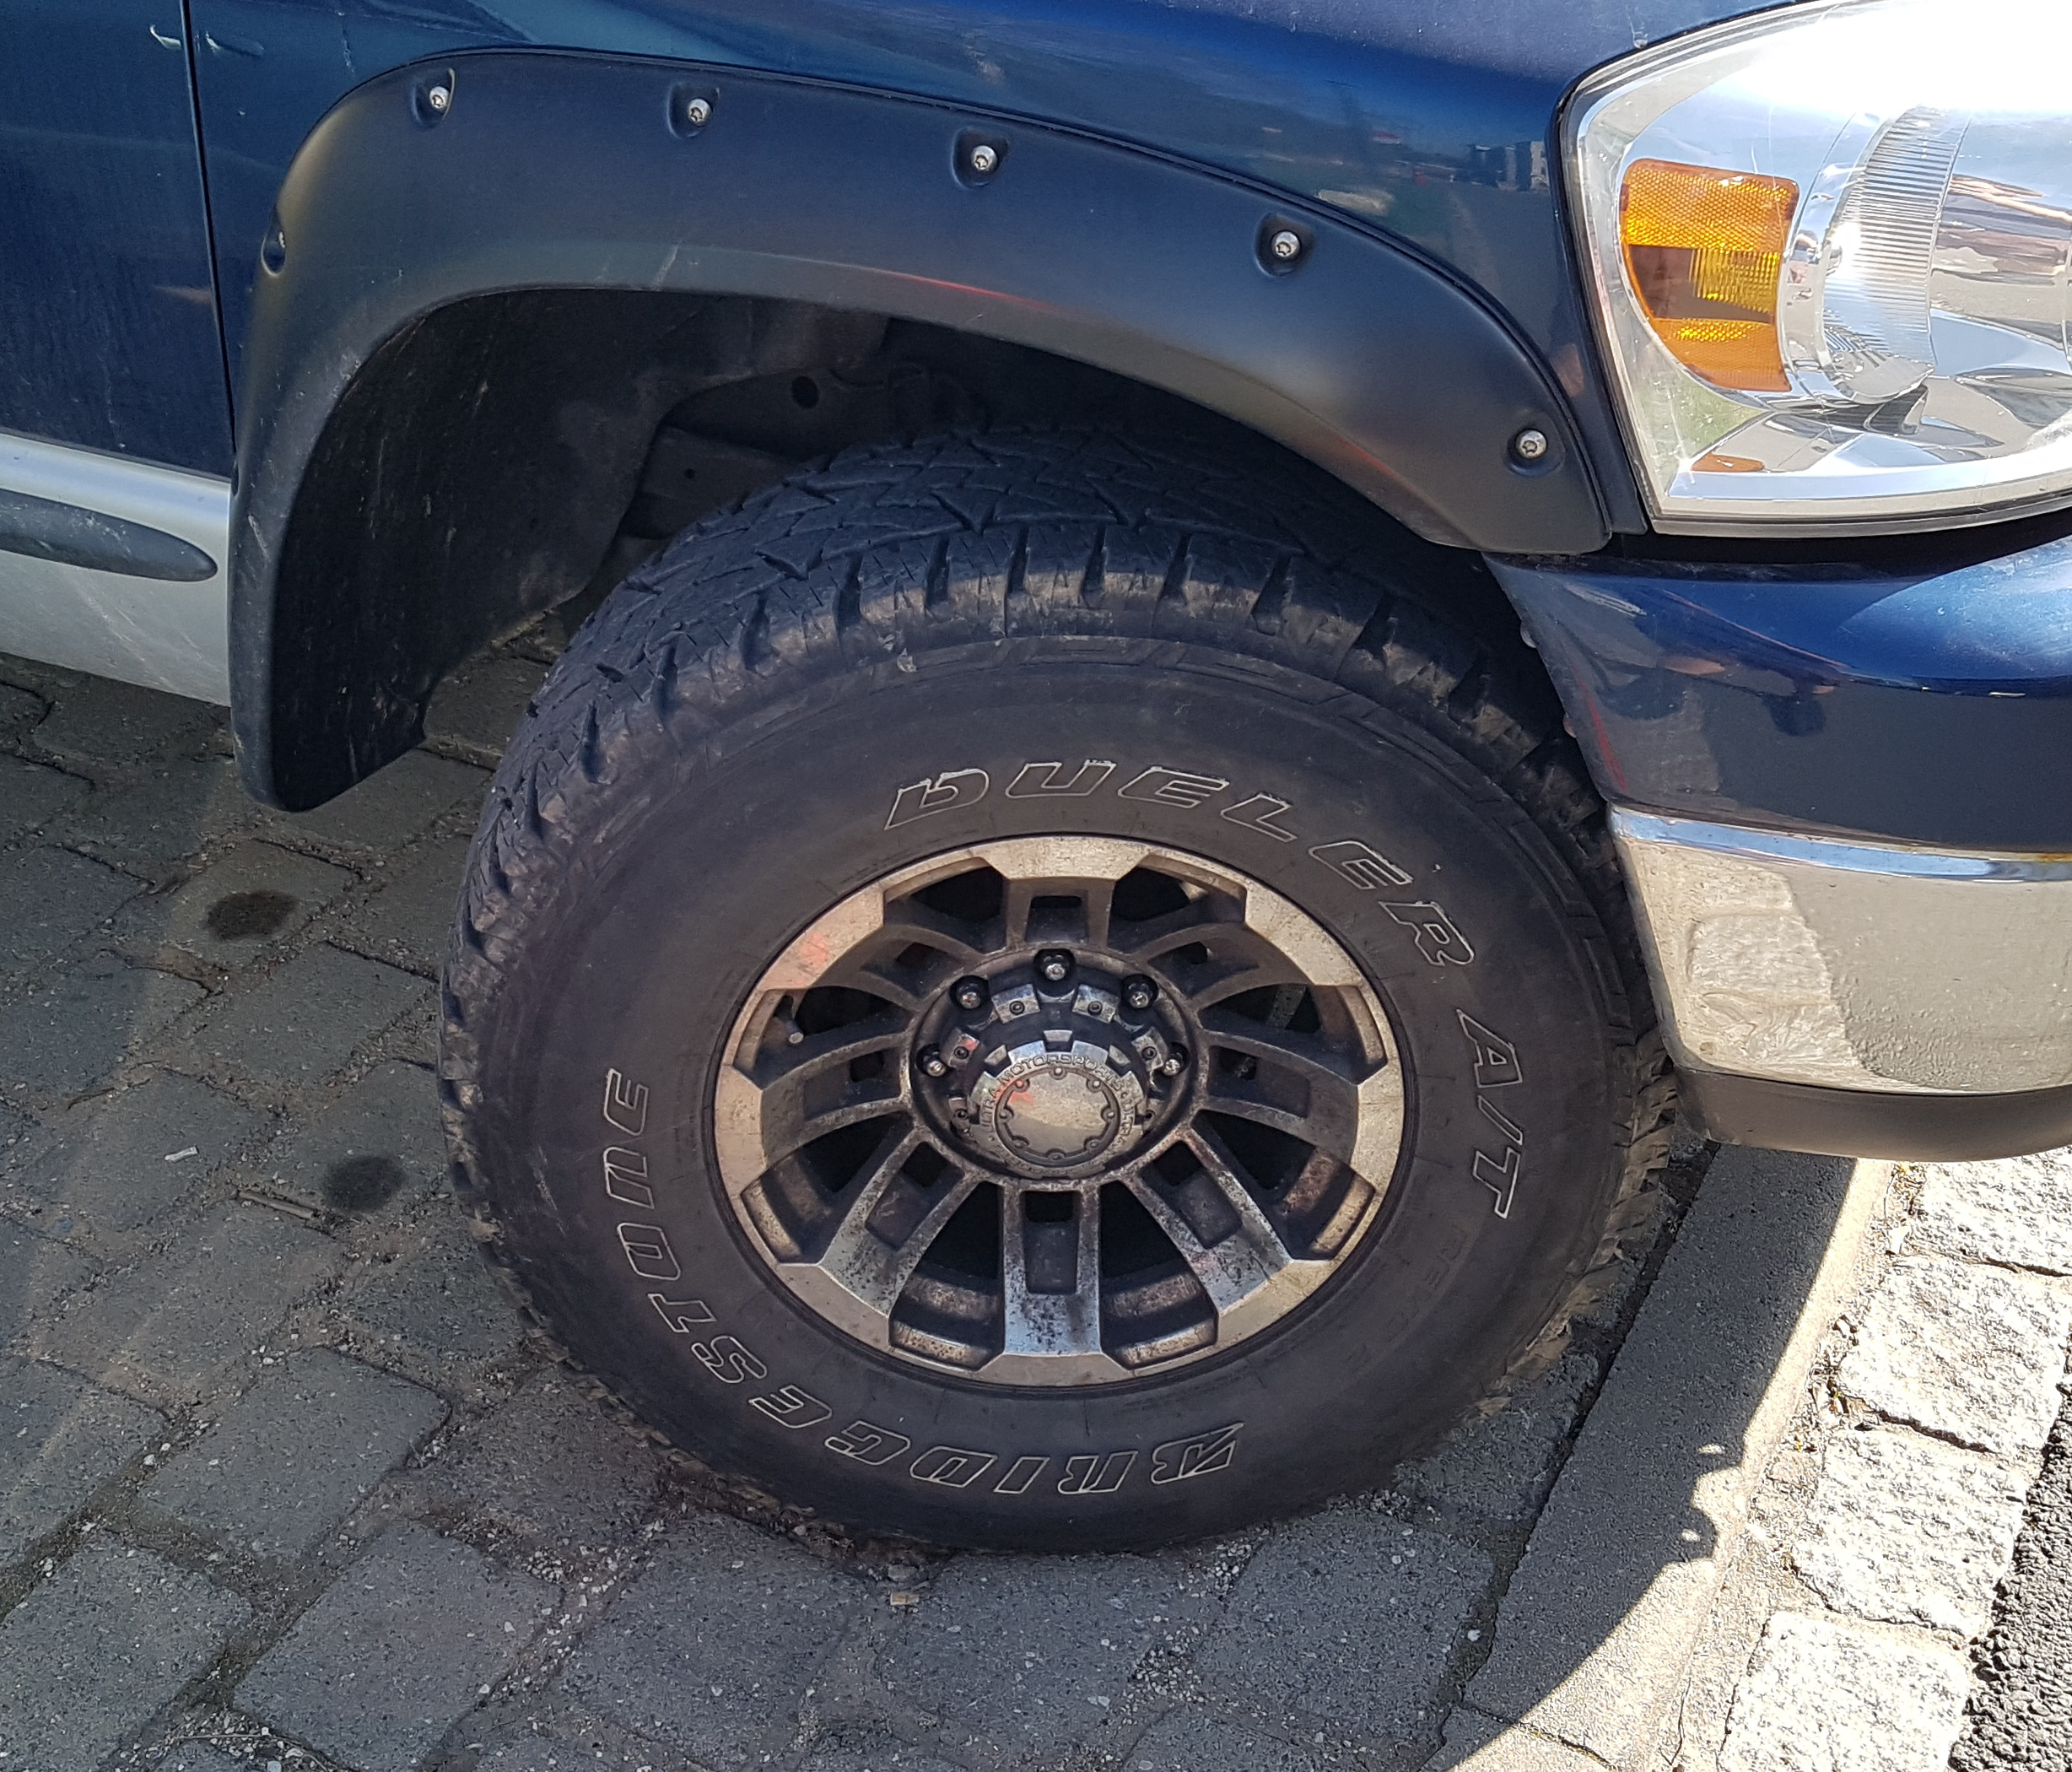
Steering wheels turned left
Then I jacked up the front axle to remove the tire.
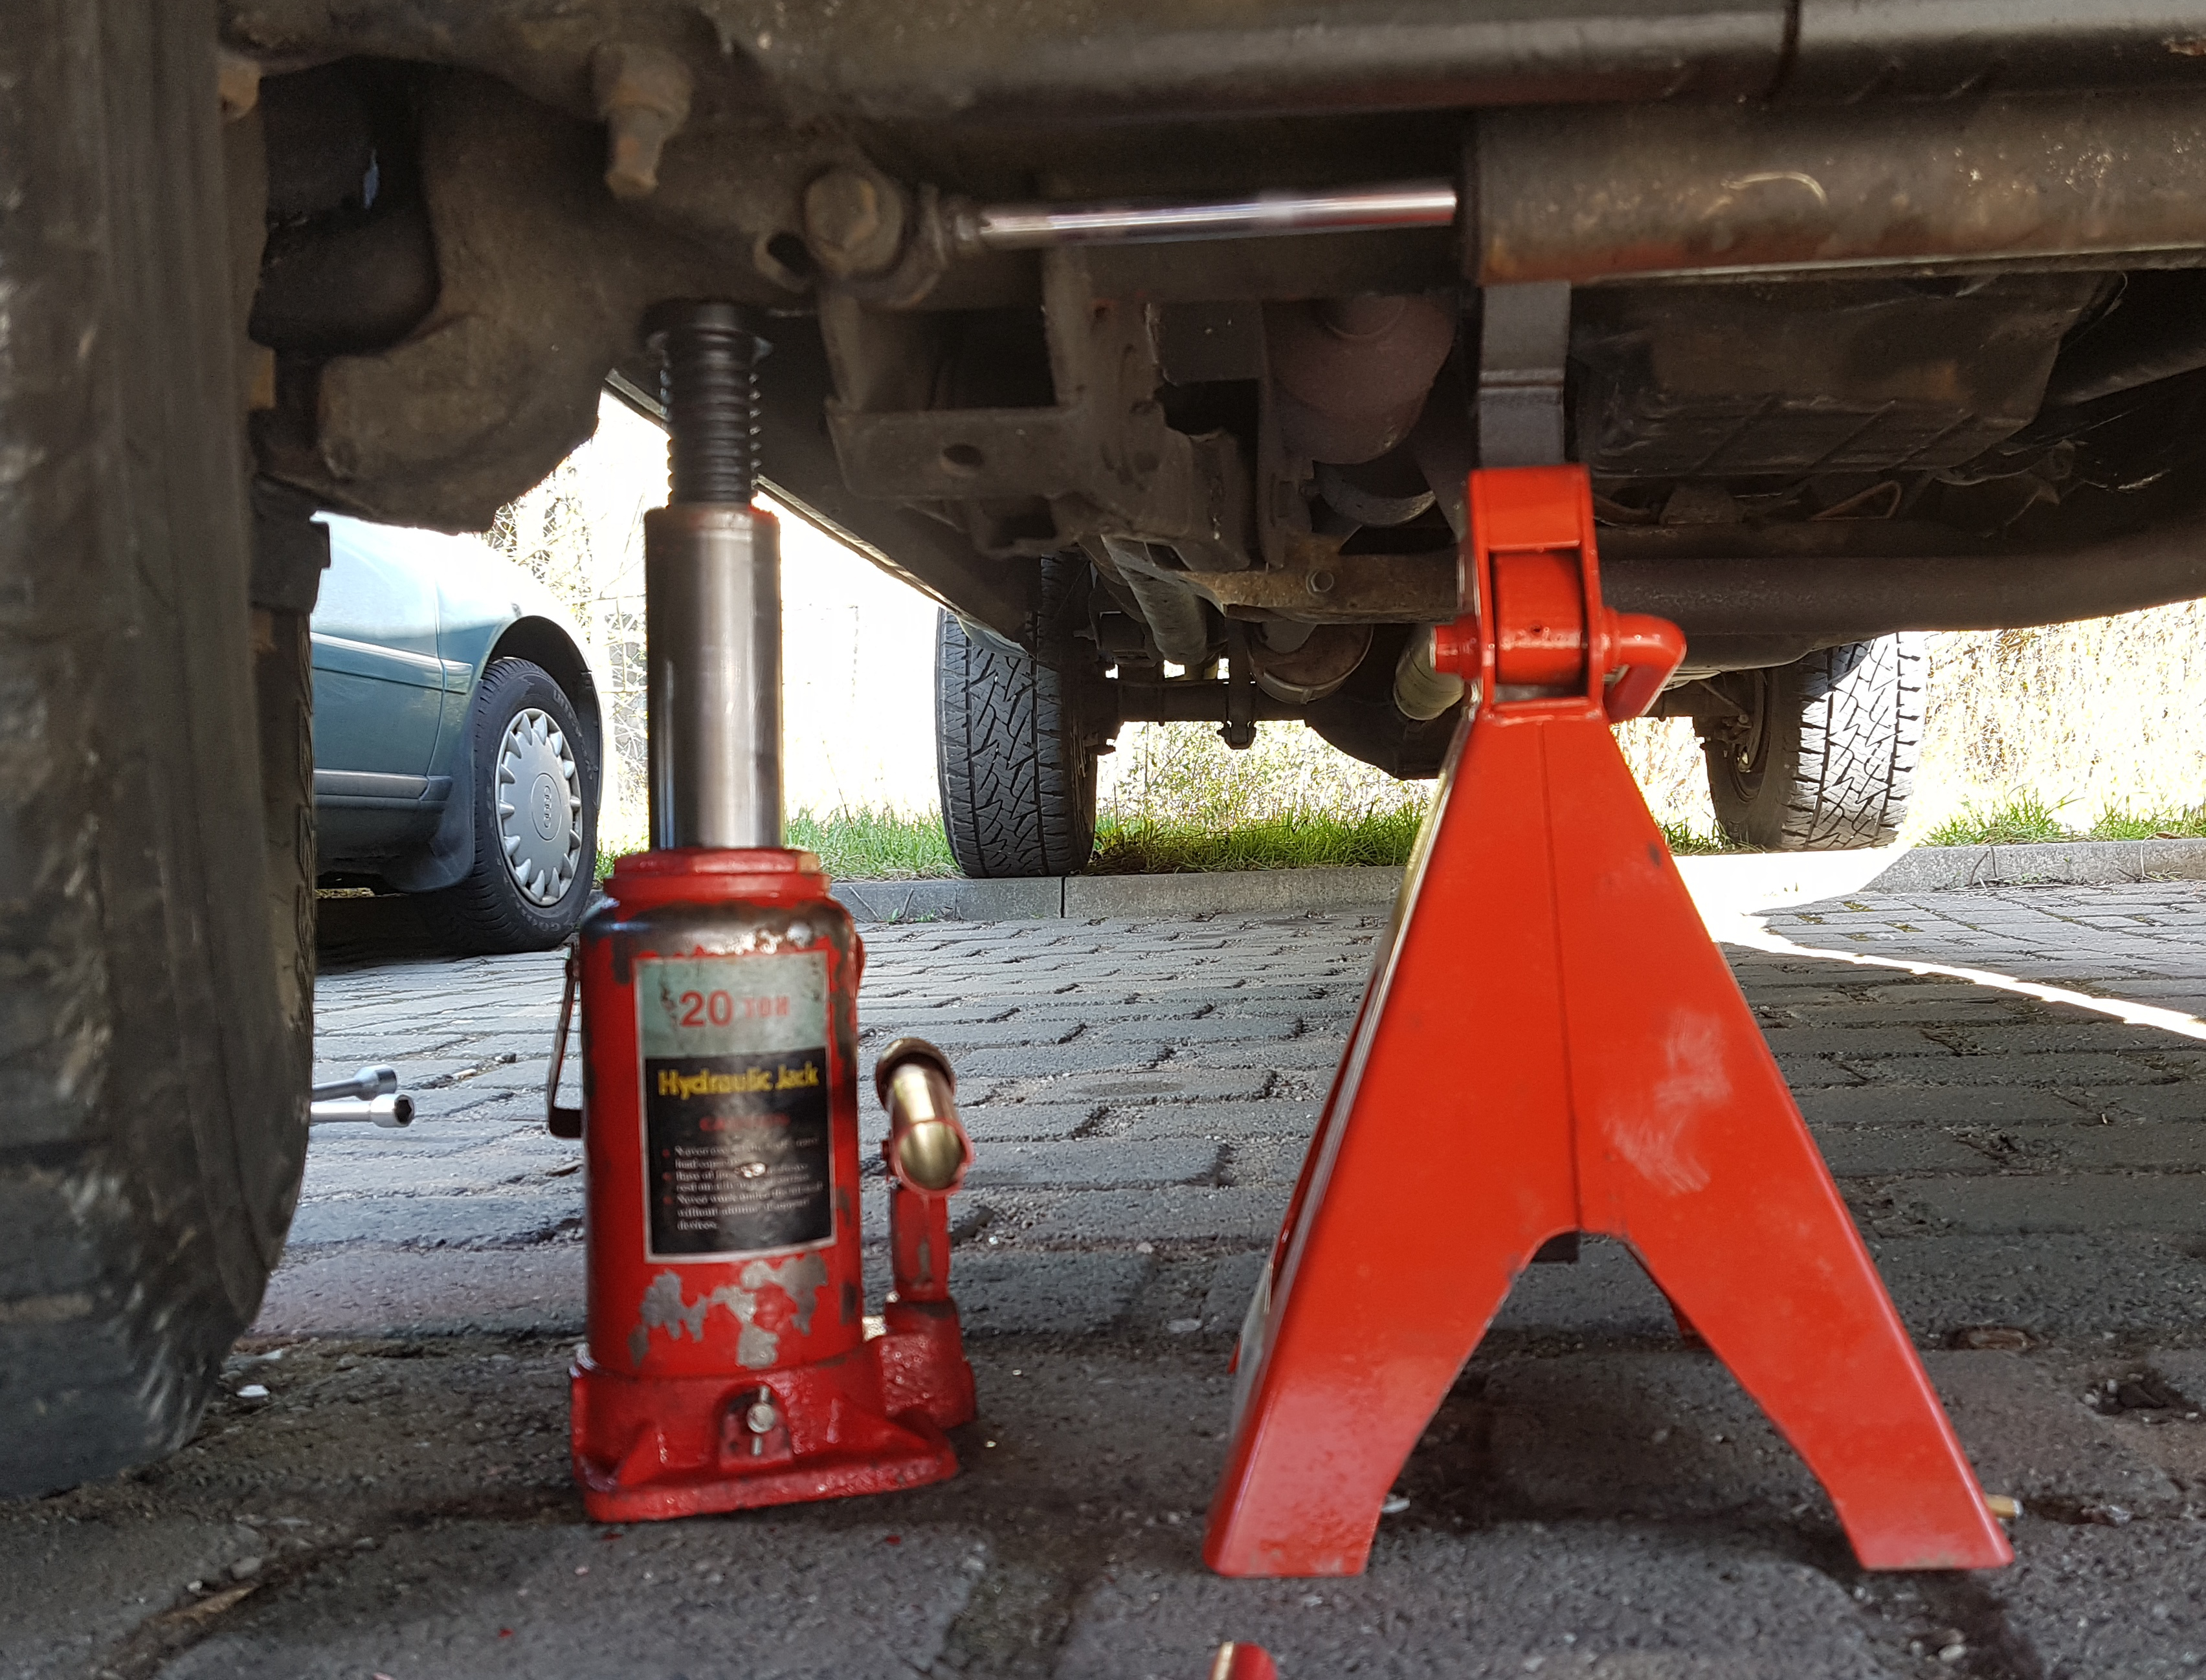
Jacked up front axle
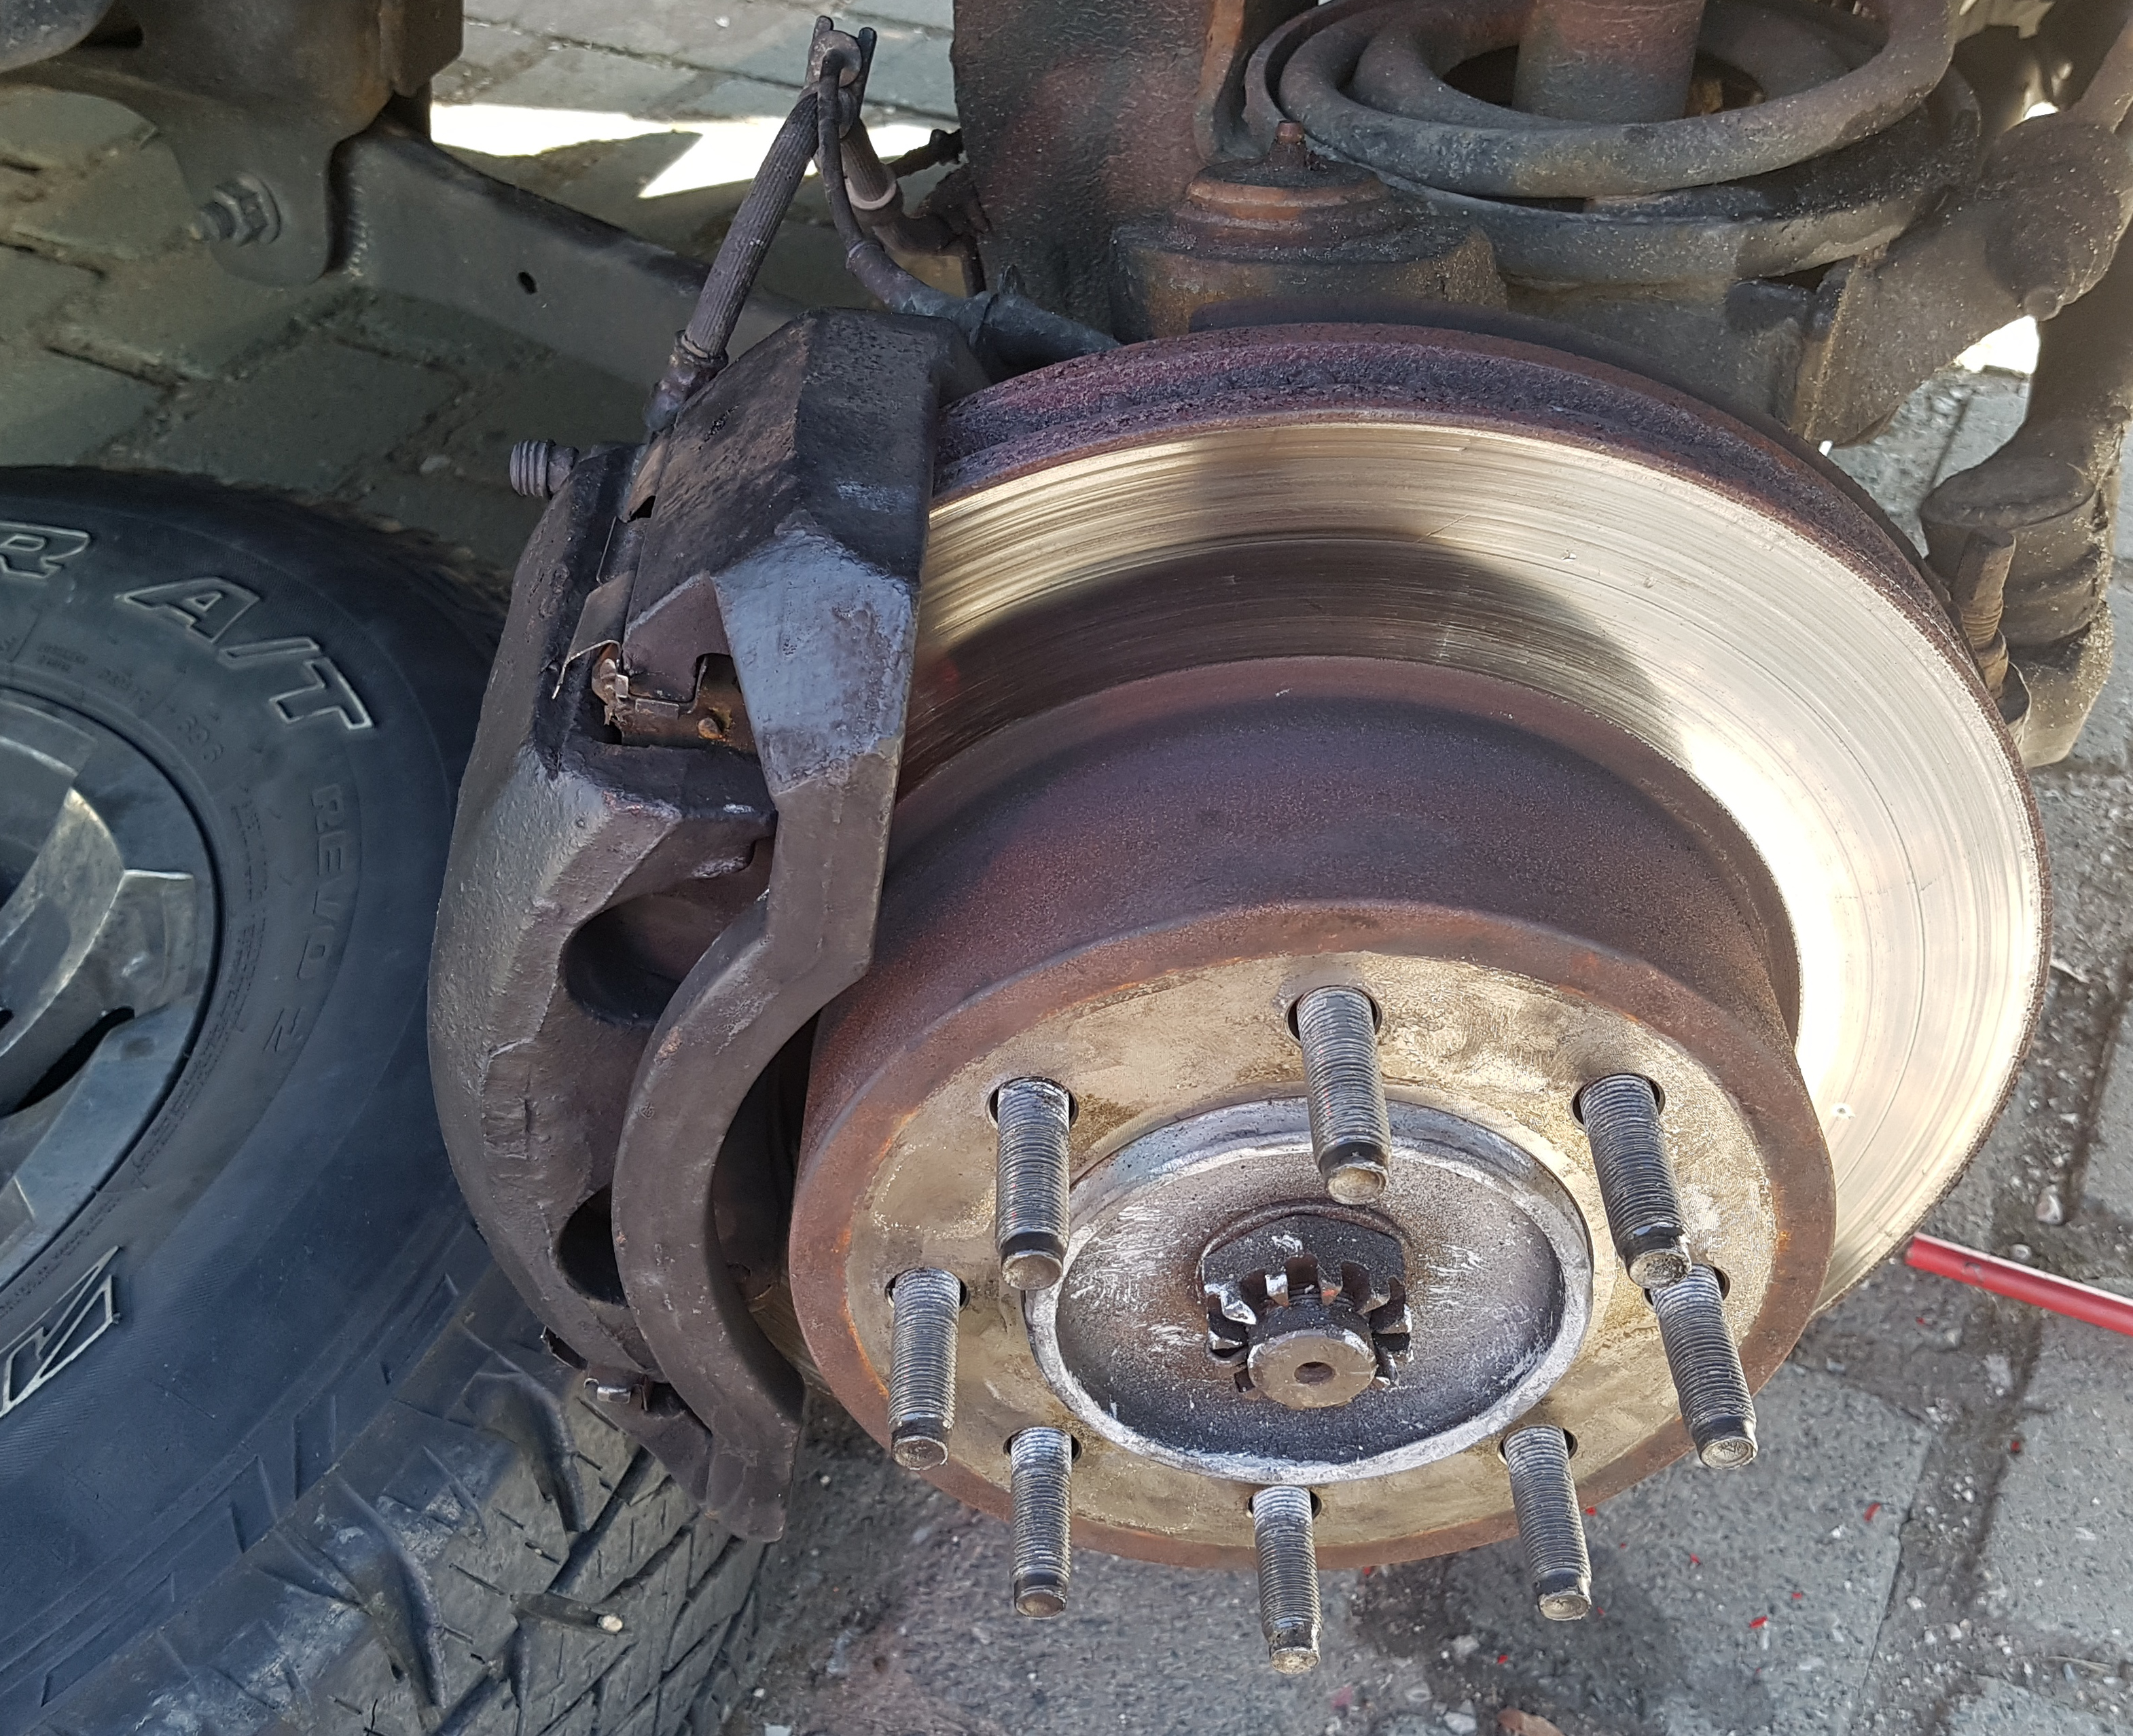
Brake with old caliper mounted
After the tire removal I removed the old caliper and laid it carefully on the tire without bending the brake line to much. The caliper is mounted with two 13mm screws. For comparison I took a photo with the old and the new caliper.
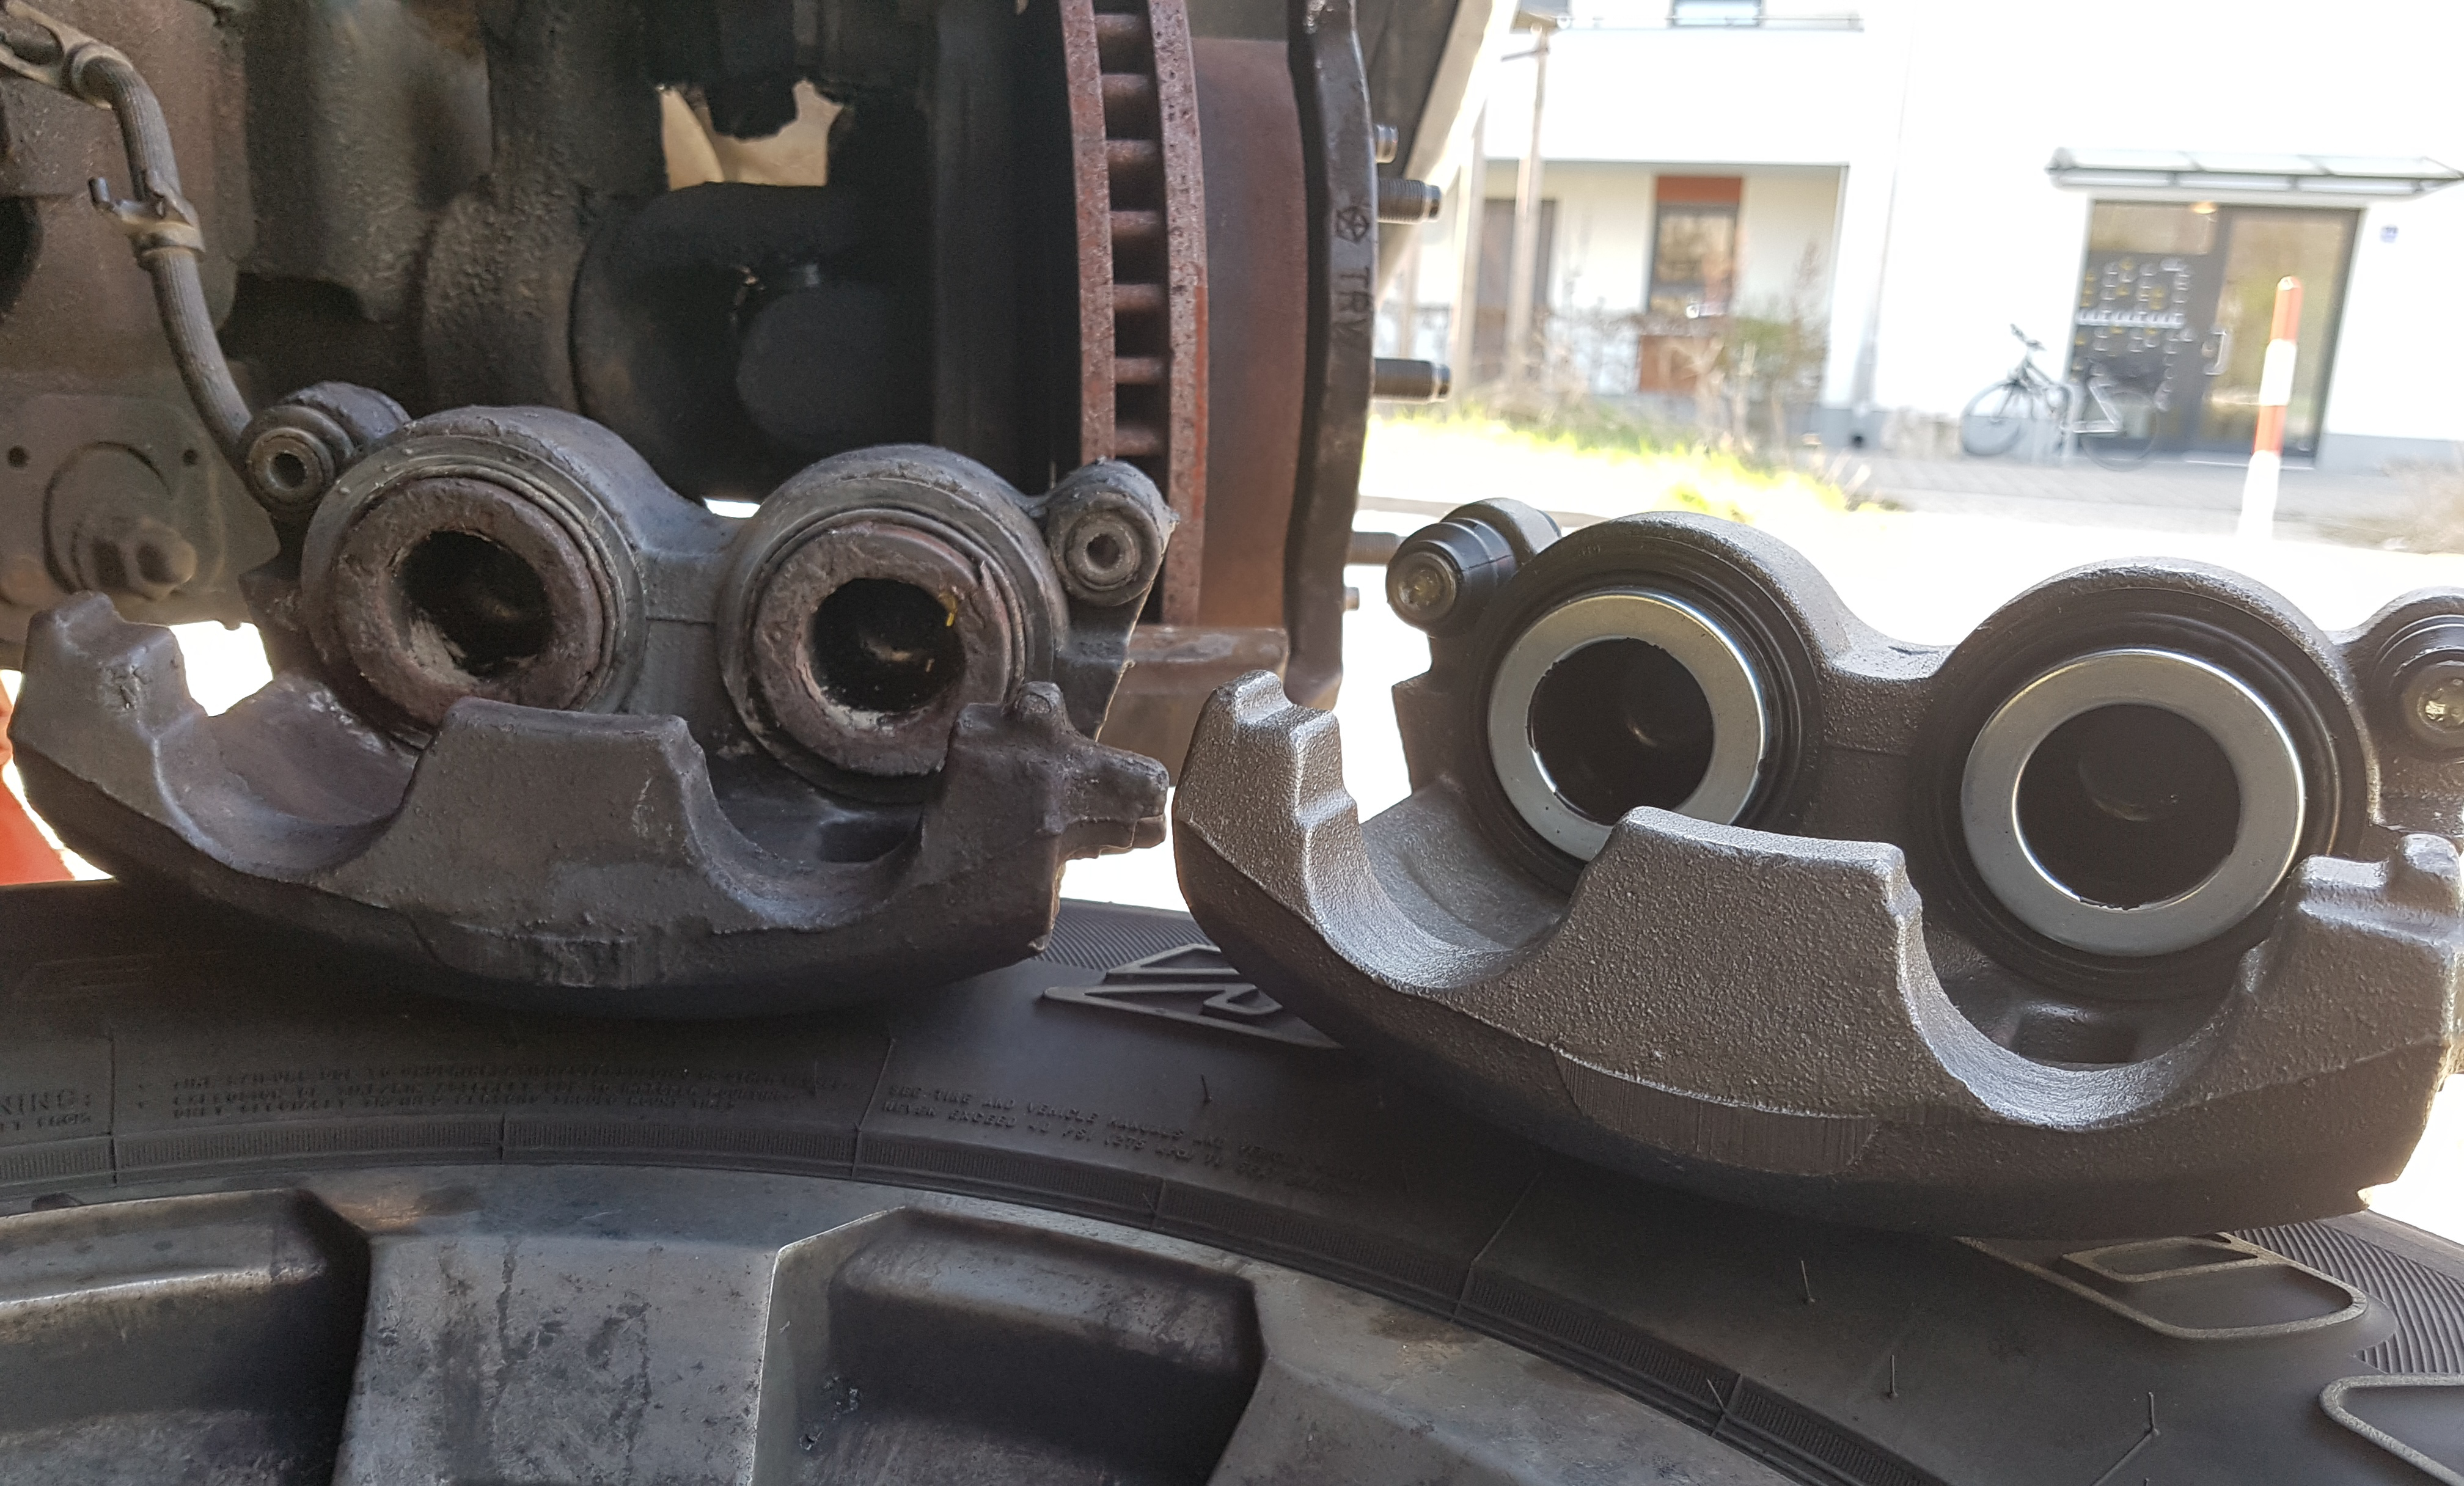
Old and new caliper
Before I mounted the new caliper I added two wrenches to a wheel bolt and screwed a nut on it to tighten the brake disk and keep it in place so that I can mount the pads with ease. If the brake disk is loose it can hang loop sided on the bolts and therefore the brake pads are always pushed out of their position so that you can not mount the caliper because the pads are pressed to wide apart.

Keeping brake disk in place.
Then I mounted the brake pads and the new brake caliper. The bolts delivered with the new caliper are 10mm bolts. So maybe I will change them and use the old ones because now I have different sized bolts on the calipers in our truck. I torqued the caliper mounting pins to 32Nm according to the Factory Service Manual.
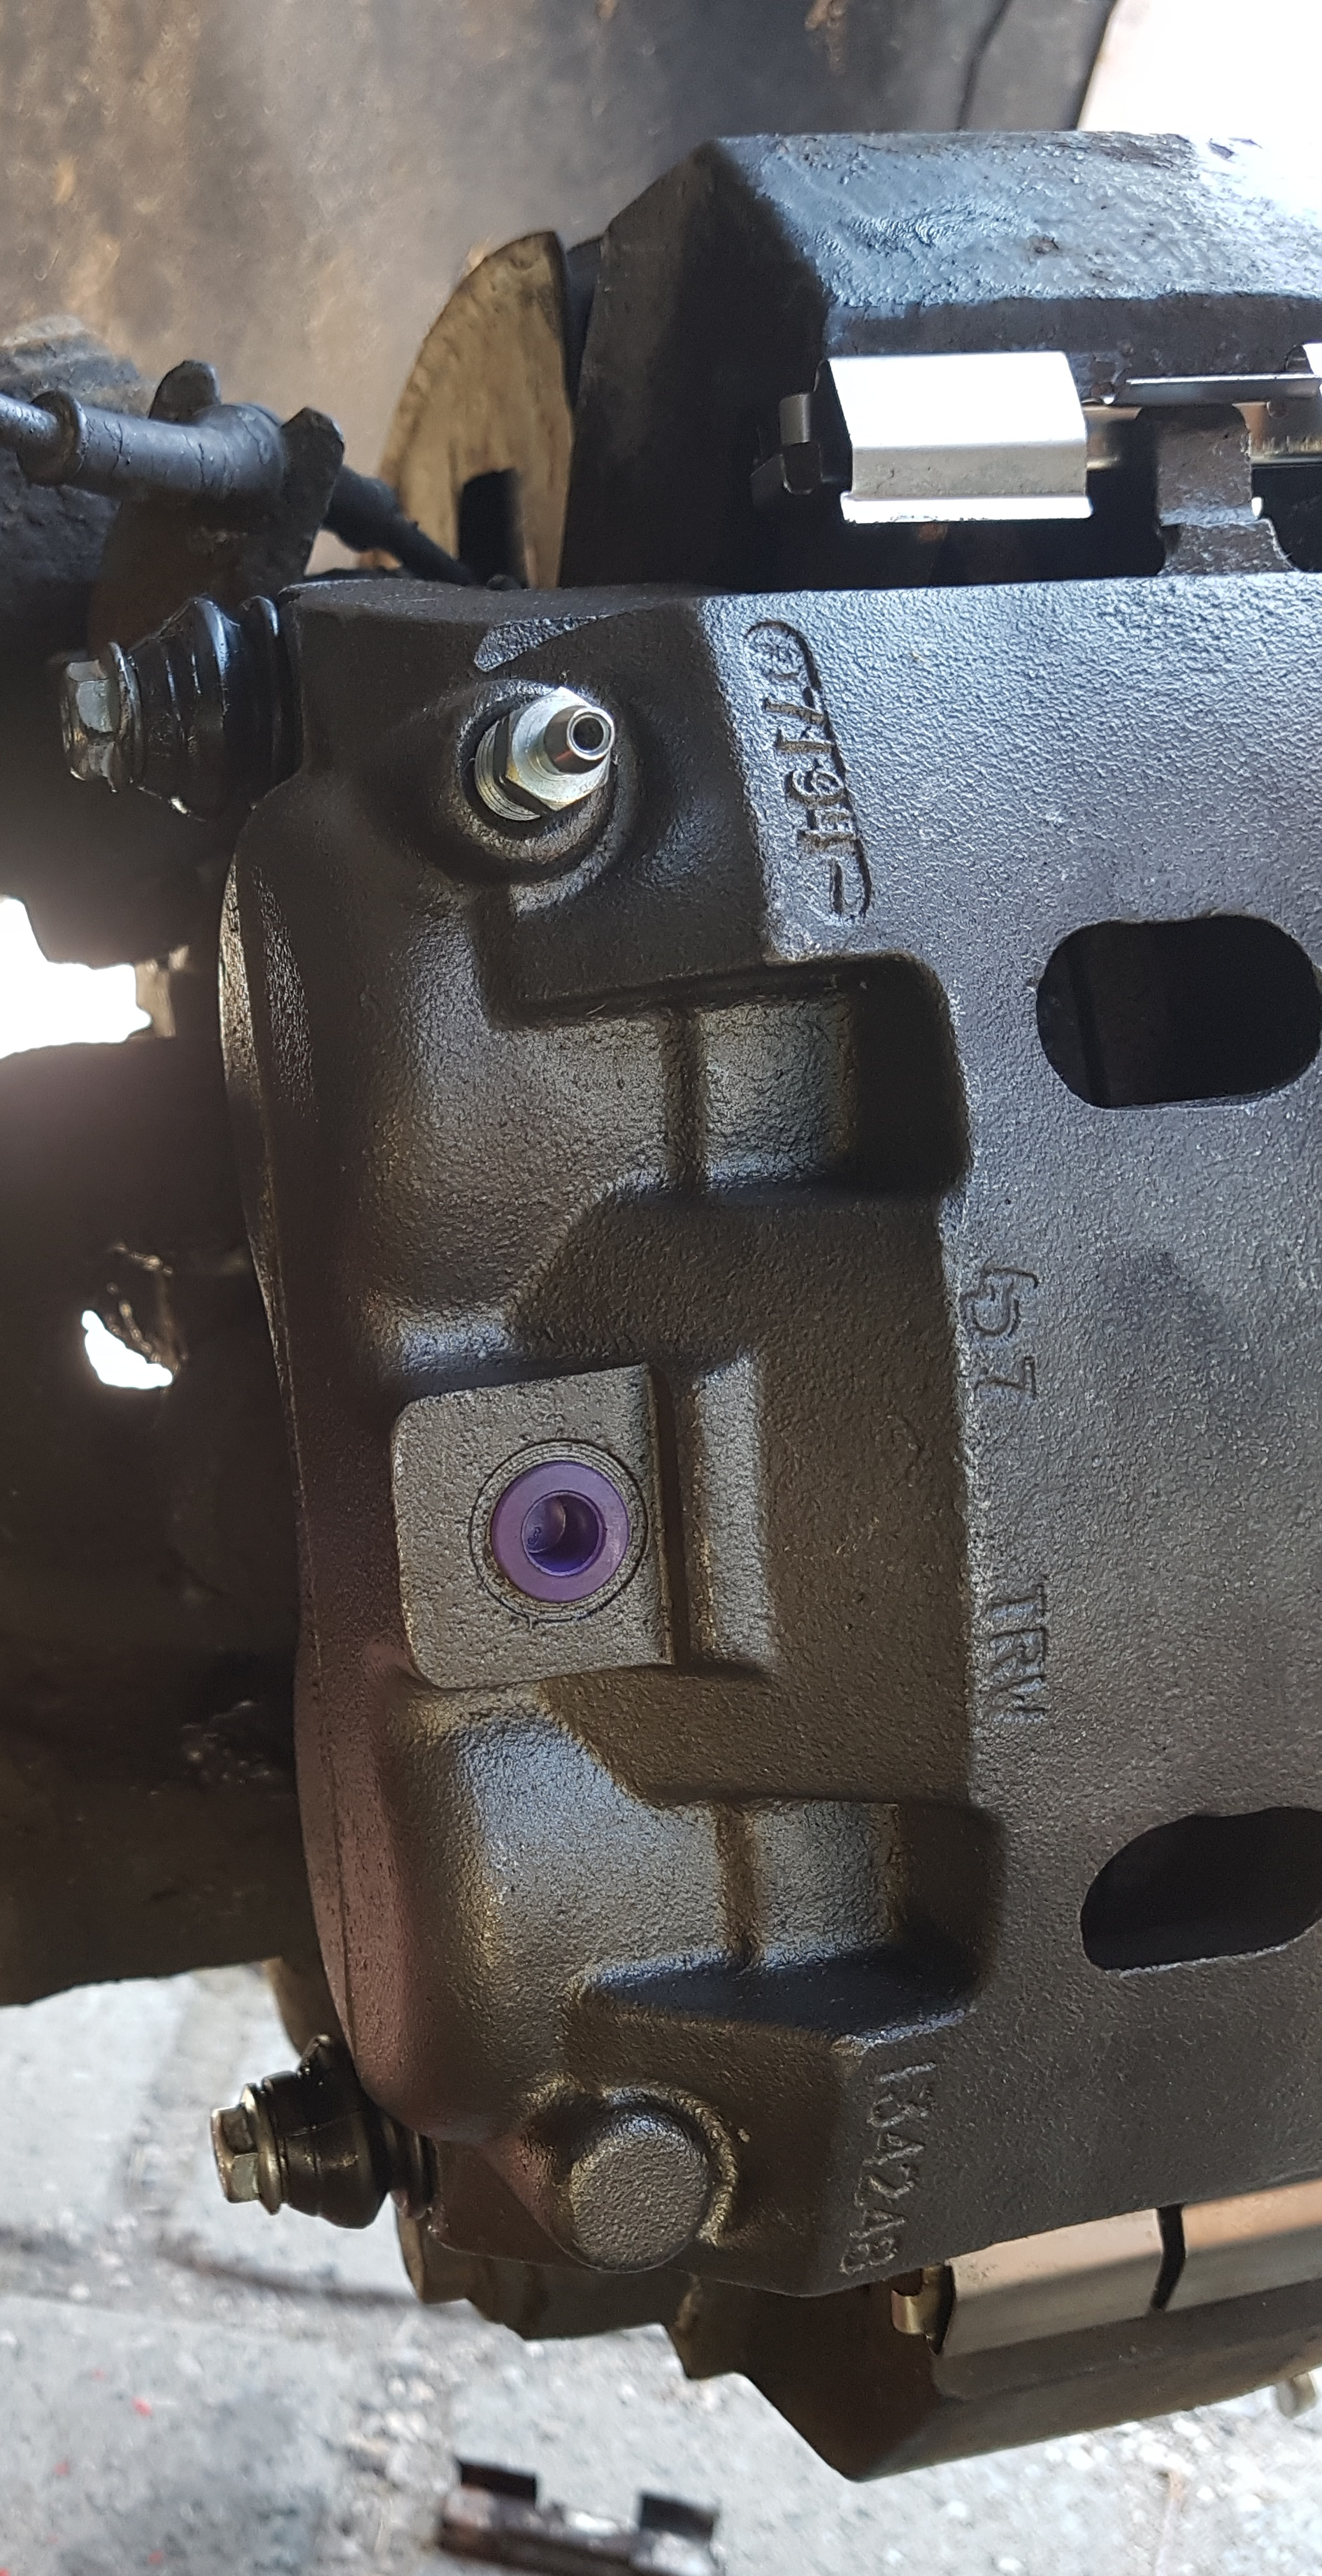
New brake caliper mounted
After the new caliper was mounted I opened the screw which holds the brake line (called ‘Caliper Brake Line Banjo Bolt’ in the Factory Service Manual) on the old caliper (I think its a 15mm screw – but I’m not sure anymore). As soon as this screw is open the brake fluid will drop out of the brake line constantly. I soaked it up with some old towels. I removed the loose rust of the braking line and put the bolt together with two new copper sealing rings back on the caliper.
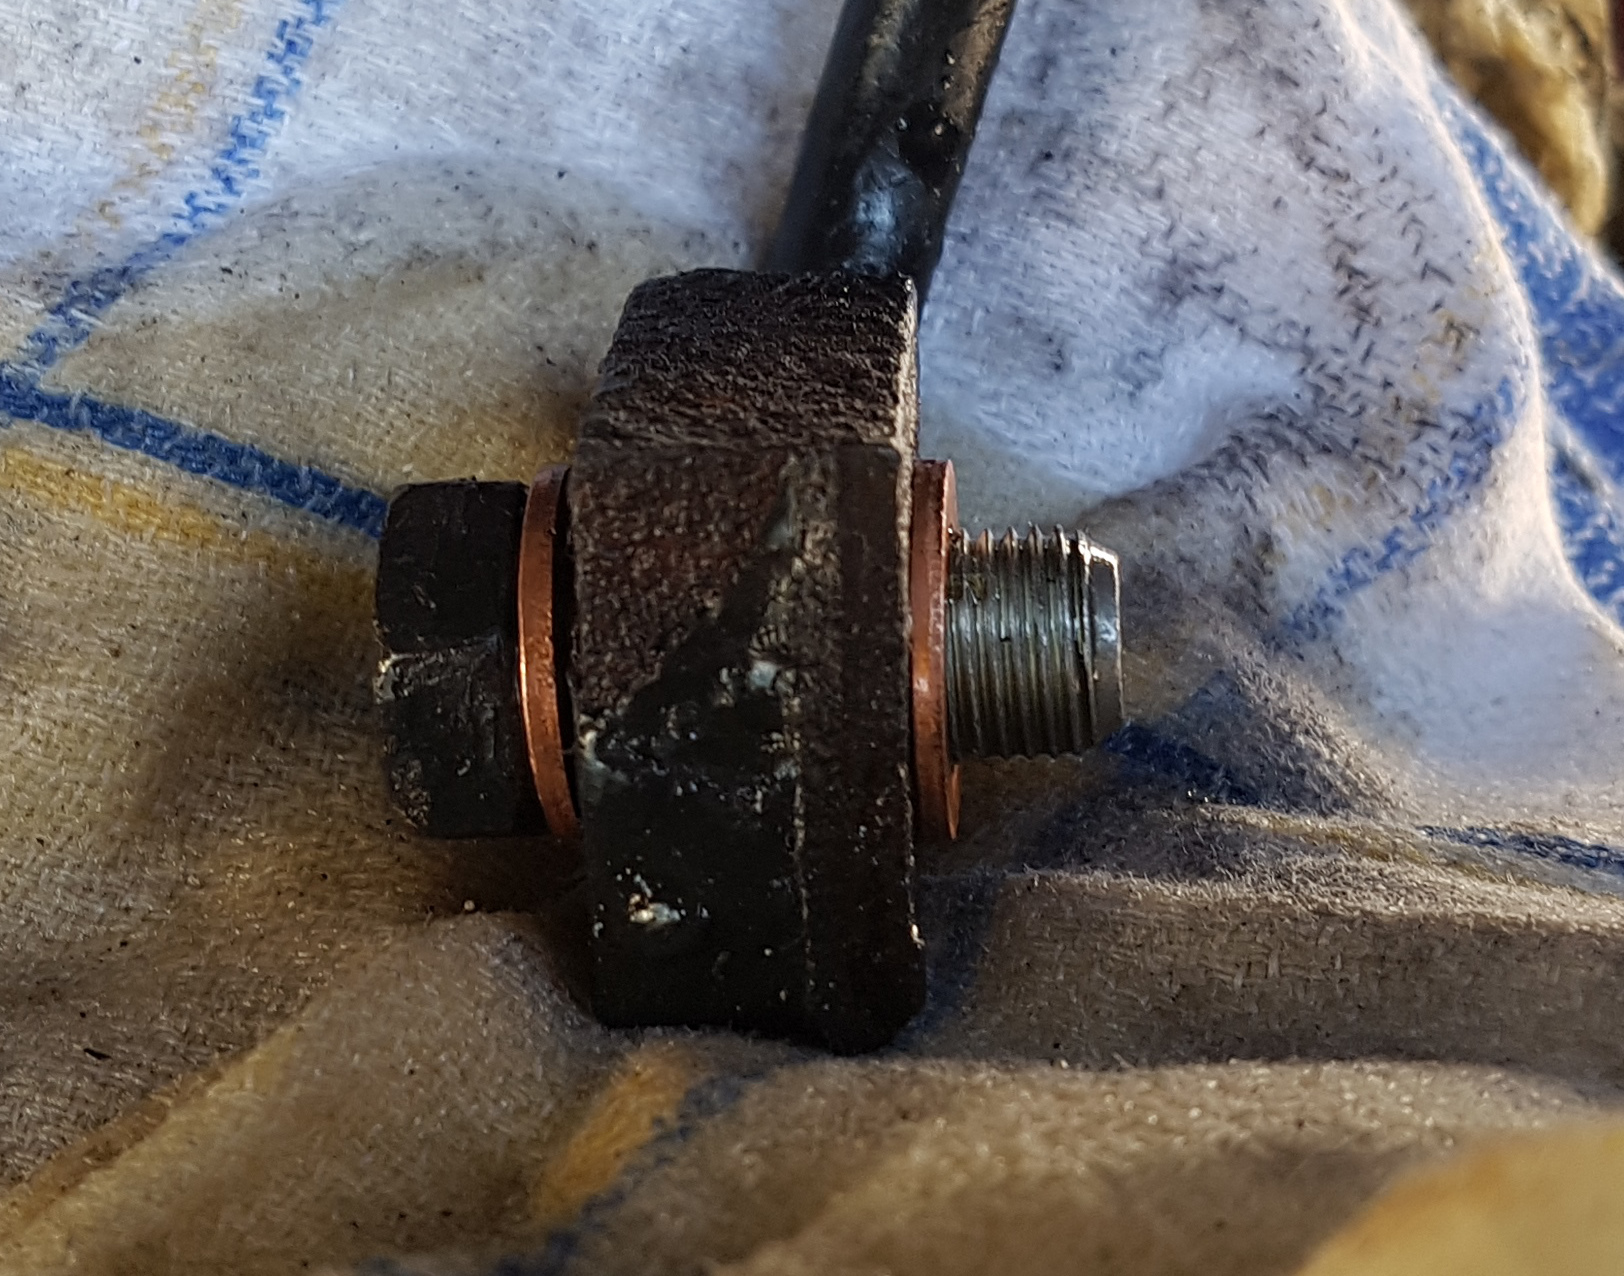
Brake line with new copper sealing rings
I screwed the braking line to the caliper with 27Nm according to the Factory Service Manual. I highly recommend to use a torque wrench in this case because the copper sealing rings need to be pressed quiet strongly to seal tightly. If I did not have used a torque wrench I’d never tightened it up so strong.
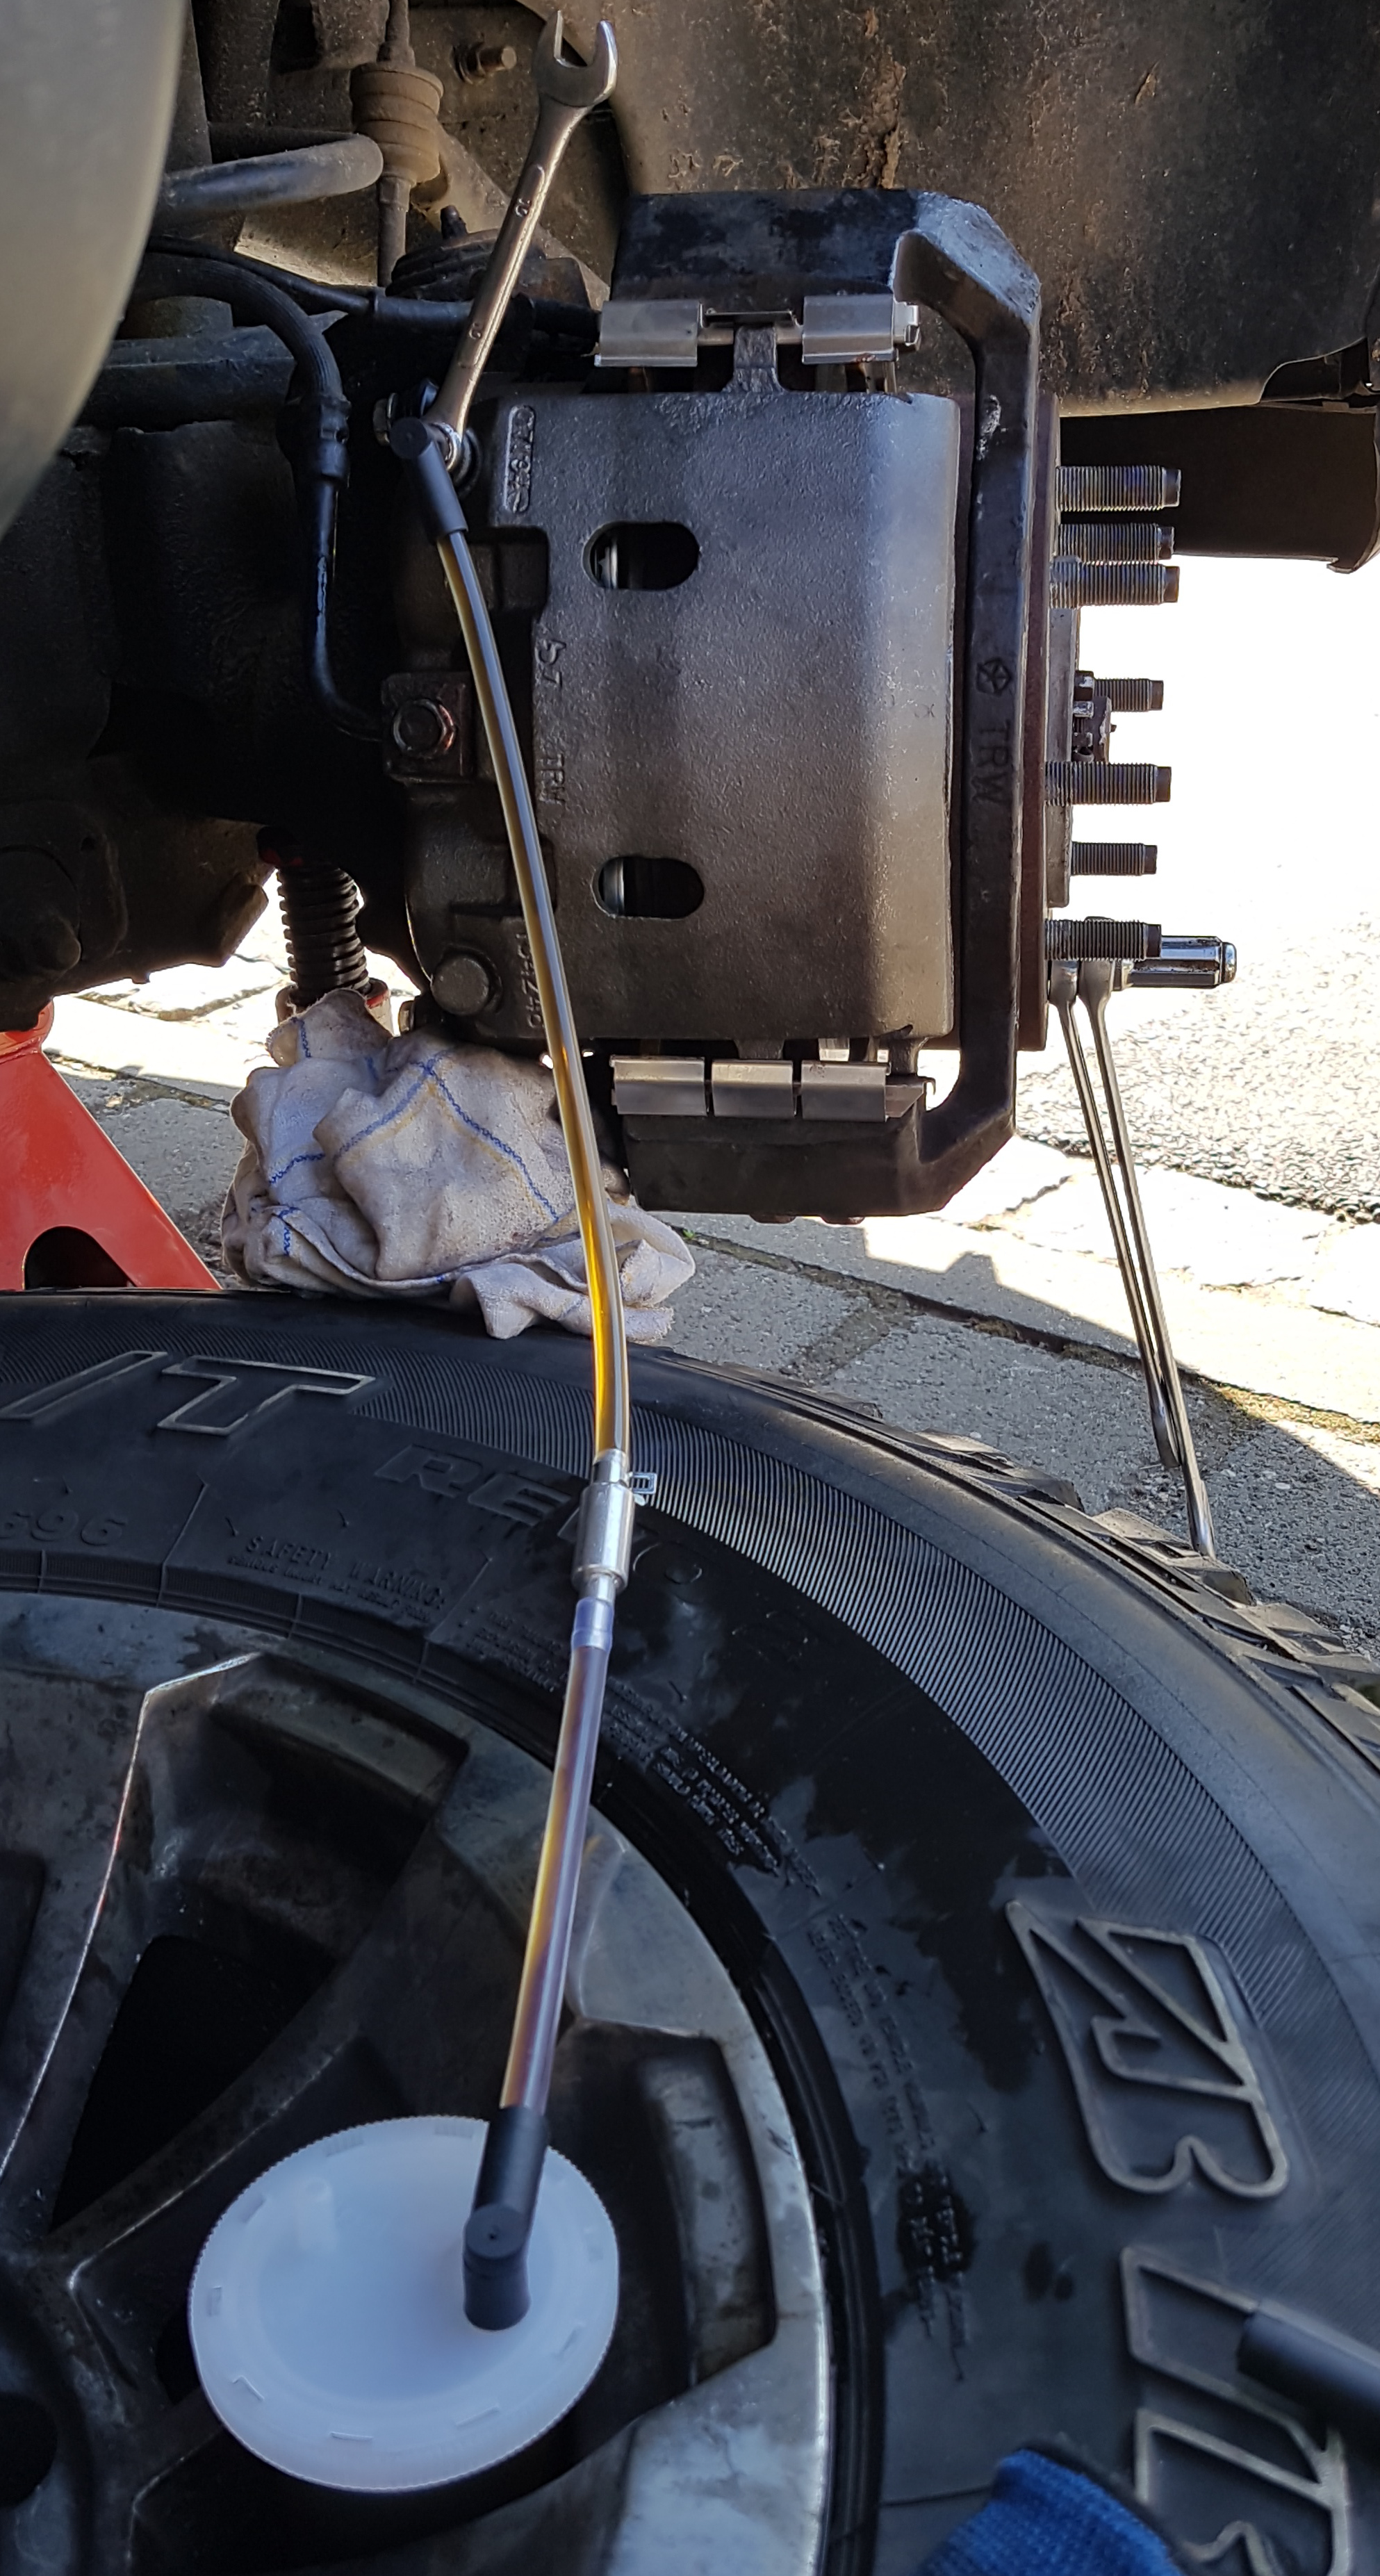
Mounted braking line and ready for bleeding
The brake bleeding was really easy with this bleeding kit in combination with my non return valve. Open the bleeder (10mm) do some pumps with the brake, check if there are no bubbles in the bleeder line and keep a look at the brake fluid reservoir in the engine bay to avoid emptying it. When you are done close the bleeder. I used the brake fluid (DOT 3) which was recommended on the cap of the brake fluid reservoir.
At the end of the bleeding procedure my neighbor helped me which was really cool because otherwise I would had to run around the truck every time when I want to look at the bleeder if there are any bubbles left.
After the bleeding was done I put the tire back on the truck tidied up and made a test drive 🙂
Raised Flower Bed – 2017-04-02

Raised Flower Bed – 2017-04-02